Latitude and longitude become much easier when students understand what the lines measure before they begin hunting for coordinates. A good sequence moves from a globe, to body movement, to a simple grid, and only then to a detailed map.
The goal in grades 3–5 is not speed. It is a dependable routine students can explain and use.
Build the concept on a globe
Begin with the two reference lines:
- The Equator is 0° latitude. It divides Earth into the Northern and Southern Hemispheres.
- The Prime Meridian is 0° longitude. Together with the 180° meridian, it helps divide Earth into the Eastern and Western Hemispheres.
Then clarify the language that often causes confusion:
- Lines of latitude circle Earth from east to west, but they measure distance north or south of the Equator.
- Lines of longitude run from pole to pole, but they measure distance east or west of the Prime Meridian.
Avoid relying only on “horizontal” and “vertical.” Those words may help on one flat map, but they are less useful when a map is rotated or when students move to a globe.
Ask students to trace a line with one finger while saying what it measures. The combination of movement and language is more memorable than a mnemonic by itself.
Teach one coordinate routine
Use the same four steps every time:
- Read latitude first.
- Decide whether the location is north or south of the Equator.
- Read longitude second.
- Decide whether the location is east or west of the Prime Meridian.
Say coordinates aloud in a consistent form: “40 degrees north, 80 degrees west.” Write them as 40° N, 80° W.
Latitude ranges from 0° to 90° north or south. Longitude ranges from 0° to 180° east or west. At this level, whole-number coordinates are usually enough; decimals can wait until students have mastered the concept.
Make a human coordinate grid
Create a large grid with reusable floor spots, painter’s tape, or playground chalk. Label the center horizontal line as the Equator and the center vertical line as the Prime Meridian.
Call a coordinate and ask one student to travel:
- Move north or south to the latitude.
- Move east or west to the longitude.
- Stop where the two lines meet.
Classmates can verify each move with thumbs-up or a quiet correction. Then reverse the task: place an object at an intersection and ask students to name its coordinates.
Start with only the four hemispheres. Add degree labels after students can consistently name direction from the two reference lines.
Move from a simple grid to a real map
Students may understand the human grid but struggle when a map contains coastlines, labels, and curved lines. Reduce the visual load in stages:
- Blank four-quadrant grid
- Grid with degree labels
- Simplified world map
- Regional or national map
- Map with additional features and scale
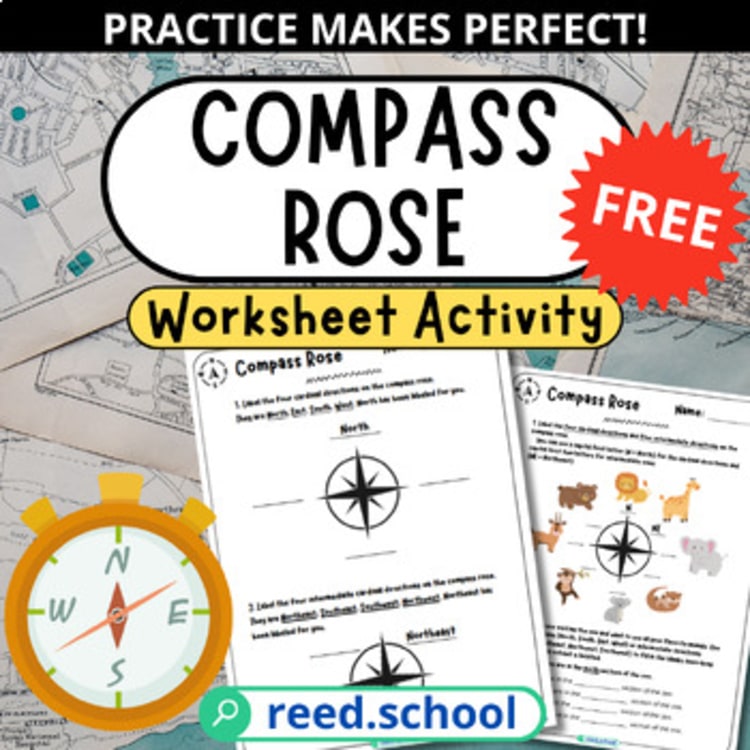
Before the coordinate lesson, make sure students can orient themselves with cardinal directions. The compass rose practice is a useful short prerequisite when north, south, east, and west are not yet automatic.
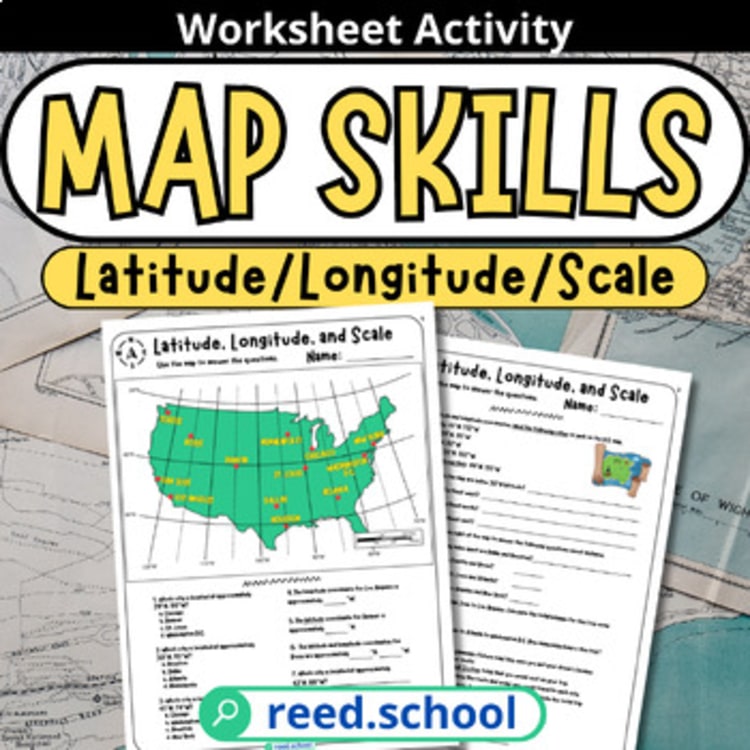
For focused application, the latitude, longitude, and scale map-skills activity gives students a concrete map to read rather than isolated coordinate pairs.
Ask questions in a useful progression
Begin with questions that require one decision:
- Is this location north or south of the Equator?
- Which reference line measures latitude?
- Is 20° N closer to the Equator than 60° N?
Then combine decisions:
- In which two hemispheres is 30° S, 60° E?
- Which point is farther west?
- What coordinate describes the marked location?
- Which marked location matches 45° N, 90° W?
Finally, ask students to explain:
- How do you know which number to read first?
- Why can two locations share a latitude but not be in the same place?
- What mistake would place this point in the wrong hemisphere?
Explanations reveal misconceptions that a correct plotted point can hide.
Address common mix-ups directly
Reversing the order
Keep “latitude, then longitude” visible on every early practice page. Have students underline the first value and circle the second before plotting.
Confusing line direction with measurement
Return to the sentence frame: “Latitude lines run east–west and measure north–south.” Let students trace and say it together.
Dropping the direction letters
Explain that 30° N and 30° S are different places. A number without N, S, E, or W is incomplete for most classroom coordinates.
Plotting along a line instead of at an intersection
Ask students to follow one line with each index finger until their fingers meet. The location is the intersection, not an entire latitude or longitude line.
Treating a map grid and global coordinates as identical
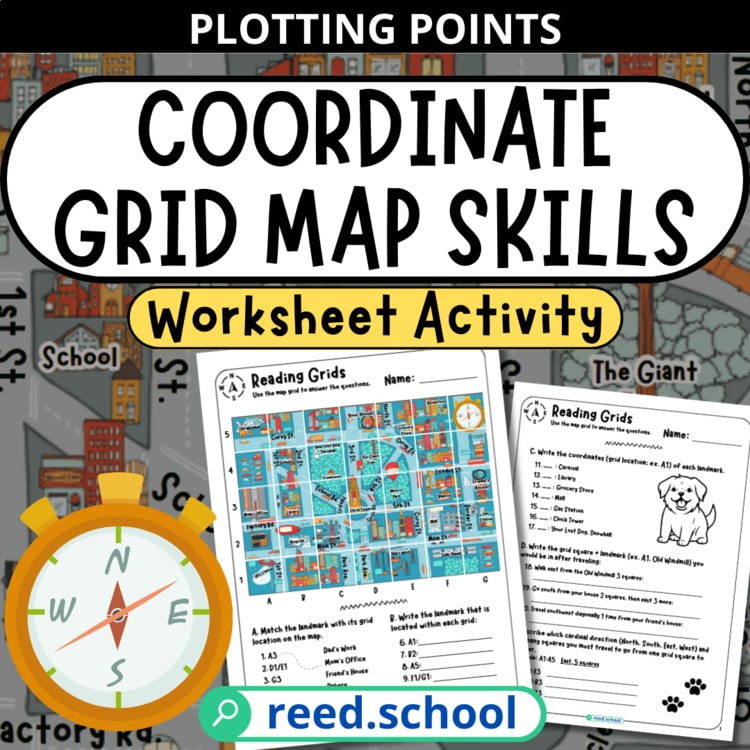
Both systems use intersecting references, but an alphanumeric city grid and latitude–longitude have different labels and purposes. The coordinate-grid map activity makes a good compare-and-contrast lesson after students understand each system separately.
Use a quick assessment
An effective exit ticket needs only three items:
- Label the Equator and Prime Meridian.
- Plot one coordinate with direction letters.
- Explain one step used to avoid reversing latitude and longitude.
For an extension, students can create a “mystery location” card with a coordinate and two hemisphere clues for a partner to solve. Use landmarks or fictional locations rather than students’ home addresses.
Continue the map-skills sequence
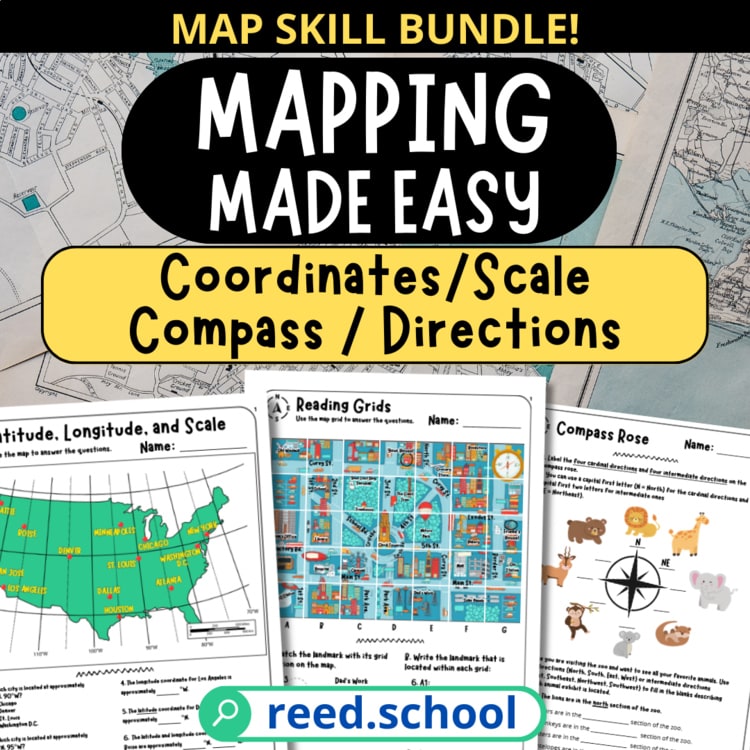
Latitude and longitude make more sense as part of a connected map unit that also includes direction, symbols, scale, and coordinate grids. The Mapping Made Easy collection brings those skills together when you are ready to move beyond a single lesson.
If you prefer the stand-alone classroom activity, view the Latitude, Longitude & Scale Map Skills resource on TPT.